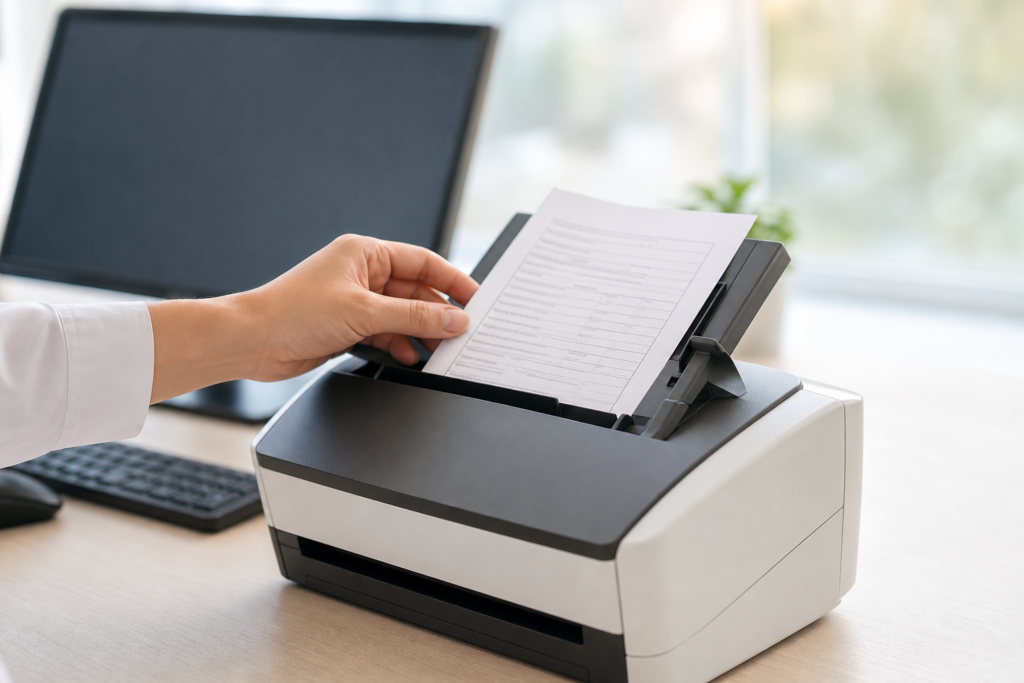
Scanning documents and uploading them to Athenahealth can streamline your practice’s workflow significantly. This process allows you to efficiently manage patient records and other essential documents. Follow this step-by-step guide to get your scanner up and running with Athenahealth.
Step 1: Download Your Scanner Driver
Begin by downloading the appropriate driver for your scanner. Make sure to select the right driver from the list provided on the manufacturer’s website. This is crucial for ensuring that your scanner communicates effectively with your computer and Athenahealth.
Step 2: Install Your Scanner Driver
- Once the driver is downloaded, click on the file to start the installation process.
- Follow the prompts to complete the driver installation.
Step 3: Connect Your Scanner
Plug in your scanner using the USB cable or appropriate connection method. Ensure that it is securely connected to your computer.
Step 4: Install AmbirScan for Athenahealth
Next, you will need AmbirScan software, which is designed specifically for use with Athenahealth.
- Download AmbirScan for athenahealth from the official site.
- Click on the downloaded file to install the software.
Step 5: License Key for Third-Party Scanners
If you are using a third-party scanner (non-AMBIR brand), you will need a license key. This key is required after your first scan.
You can enter your license key at any point by clicking “About” in the AmbirScan software and selecting “Enter New License Key.”
Step 6: Log into Your Athenahealth Account
Once the software is installed, log into your Athenahealth account to continue the setup process.
Step 7: Access Device Management
Click on the Gear icon located in the upper right corner of your Athenahealth dashboard, then select Device Management.
Step 8: Install Athena Device Manager
To facilitate smooth document scanning, you will need to install the Athena Device Manager application.
- Follow the installation prompts to install the device manager.
- Once installed, launch the application.
Step 9: Install Clinical Scanning Module
After the Device Manager is running, install the module required for Clinical Scanning. This module is essential for scanning documents into the Athenahealth system.
Step 10: Scan Your Document
With the setup complete, you can now scan your documents. Start the scanning process by placing your card or document into the scanner and selecting the appropriate option in AmbirScan.
Conclusion
By following these steps, you’ll have successfully installed your scanner for use with Athenahealth. This setup will enhance your practice’s efficiency by allowing you to digitize and manage important documents seamlessly.
Ready to get started? If you need a new scanner, check out this [Affiliate Link] for recommendations tailored to your needs. For further guidance, don’t hesitate to contact support or refer to [Internal Link] for more detailed insights.